Introduction
Switching web hosts can feel intimidating. Whether you’ve outgrown your current plan, found a better deal, or need more reliable performance, migrating your website is a critical task. The biggest fear? Downtime.
Downtime not only frustrates your visitors but also damages your SEO rankings and credibility. The good news is: you can migrate your site smoothly, without your users noticing.
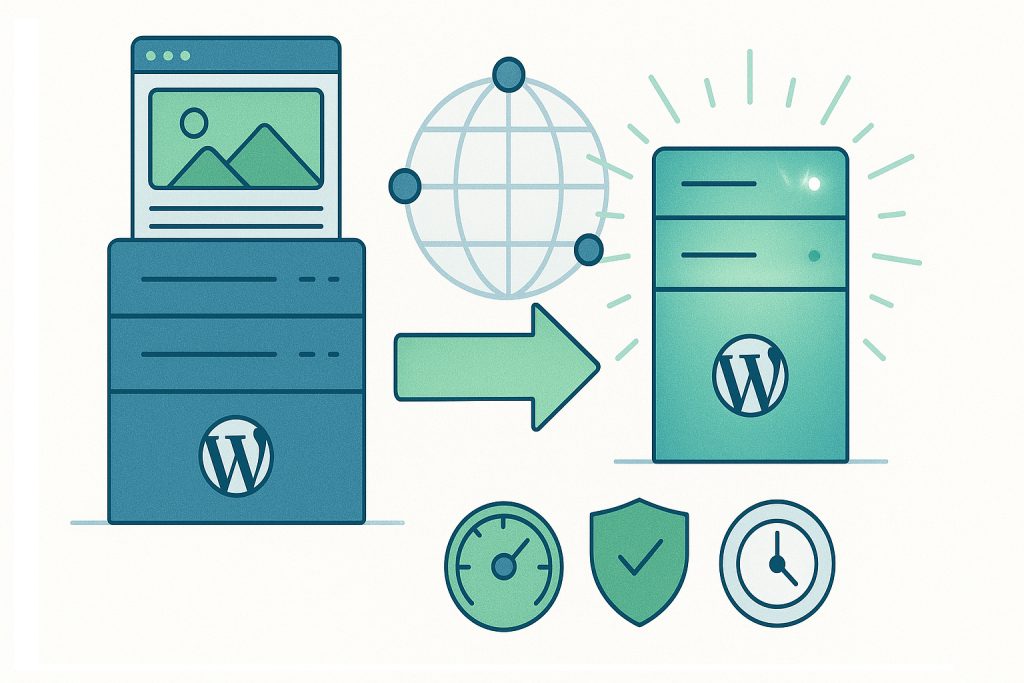
In this guide, we’ll walk you through step-by-step instructions on moving your website to a new hosting provider, ensuring zero downtime, SEO preservation, and minimal risk.
Why Move Your Website to a New Host?
Before diving into the steps, let’s look at the common reasons website owners switch hosting providers:
- Better performance → Faster servers, SSD storage, or optimized hosting for WordPress.
- Improved reliability → Higher uptime guarantees and better support.
- Scalability → Ability to upgrade resources as traffic grows.
- Security upgrades → Enhanced firewalls, malware scanning, DDoS protection.
- Cost savings → Discounts or better value with another provider.
- Better features → Free CDN, SSL certificates, staging environments.
👉 Moving your site is not just about price — it’s about choosing the right host that fits your growth strategy.
Pre-Migration Checklist (Plan Before You Move)
Preparation is half the battle. Before starting the migration, make sure you:
- Choose your new hosting provider
- Compare based on performance, features, and support.
- Examples: Bluehost, Hostinger, SiteGround, WP Engine, Kinsta.
- Back up your website
- Always create a full backup (files + database).
- Use tools like UpdraftPlus, All-in-One WP Migration, or cPanel backups.
- Check PHP, MySQL, and CMS compatibility
- Ensure your new host supports the same or higher versions.
- Lower DNS TTL (Time to Live)
- Set DNS TTL to 300 seconds (5 minutes) at least 24 hours before migration.
- This ensures faster DNS propagation when you switch hosts.
✅ With this checklist complete, you’re ready for the actual migration.
Step-by-Step: Move Your Website Without Downtime
Step 1: Set Up Your New Hosting Account
- Sign up with your new host.
- Set up the server environment (Linux/Windows, PHP version, MySQL database).
- If using Managed WordPress Hosting, you’ll usually get a pre-installed WordPress dashboard.
👉 Tip: Do not cancel your old hosting yet. You’ll need both running temporarily.
Step 2: Create a Complete Backup of Your Website
There are two main ways:
- Using cPanel
- Log in to cPanel → File Manager → Compress public_html folder → Download.
- Export MySQL database from phpMyAdmin.
- Using WordPress Plugins
- Install All-in-One WP Migration or Duplicator.
- Generate a backup file and export it.
📌 Always store backups both on your local computer and a cloud service (Google Drive/Dropbox).
Step 3: Upload Files to the New Host
- Connect to your new host using FTP/SFTP (FileZilla) or File Manager.
- Upload your website files into the
public_htmlfolder. - Create a new database in cPanel and import your old database via phpMyAdmin.
- Update
wp-config.php(for WordPress sites) with new database credentials.
Step 4: Test the Website on New Hosting (Without Changing DNS Yet)
Before switching DNS, you can preview your website on the new server:
- Method 1: Temporary URL → Most hosts give a staging link like
yourdomain.hostingprovider.com. - Method 2: Hosts File Edit → Edit your computer’s hosts file to map your domain to the new server’s IP.
👉 Test functionality: forms, checkout, login, plugins, theme features.
Step 5: Update DNS to Point to New Host
Once you’ve verified everything works:
- Log into your domain registrar (GoDaddy, Namecheap, Cloudflare, etc.).
- Update the nameservers to those provided by your new host OR update the A record with the new server IP.
- Because you lowered DNS TTL earlier, propagation should complete within a few hours.
During propagation:
- Some visitors may see the old host, some the new host.
- As long as you keep both servers running, no one sees downtime.
Step 6: Monitor Propagation and Performance
- Use tools like WhatsMyDNS.net to check global propagation.
- Monitor uptime with UptimeRobot.
- Check speed with GTmetrix, Pingdom, or Google PageSpeed Insights.
Step 7: Cancel Old Hosting (Only After Testing)
After 48–72 hours, when you’re 100% sure everything works smoothly, you can safely cancel your old hosting plan.
Common Mistakes to Avoid During Migration
- Not lowering DNS TTL (causes long downtime).
- Forgetting to back up (risk of permanent data loss).
- Ignoring database version compatibility.
- Cancelling old hosting too early.
- Not testing before DNS change.
Bonus: How to Move Email Accounts Without Downtime
If your emails are hosted with your old provider:
- Backup your emails using IMAP sync or Outlook/Thunderbird export.
- Recreate email accounts on the new host.
- Update MX records after DNS change.
📌 Pro tip: Use Google Workspace or Zoho Mail to separate email from hosting for easier future migrations.
Tools & Plugins That Make Migration Easier
- UpdraftPlus → Simple backup/restore.
- Duplicator → Package entire site into one file.
- All-in-One WP Migration → Drag-and-drop migration.
- Cloudflare DNS → Fast propagation with minimal downtime.
- ManageWP → One-click site cloning.
Final Thoughts
Migrating to a new host doesn’t have to be stressful. With proper planning, backups, and step-by-step execution, you can move your site without any downtime — keeping your visitors happy and your SEO intact.
👉 If you’re planning to migrate, choose a host with:
- Free migration support (many top providers like SiteGround, Bluehost, WP Engine offer this).
- Reliable uptime and strong customer support.
Your website deserves a hosting environment that matches your growth. Don’t just move — upgrade.
Shared vs VPS Hosting: Which One Is Right for Your Website in 2025?
Cloud, Edge, and Multi-Cloud Hosting: The Future Explained
Managed WordPress Hosting – Is It Worth the Extra Cost?


