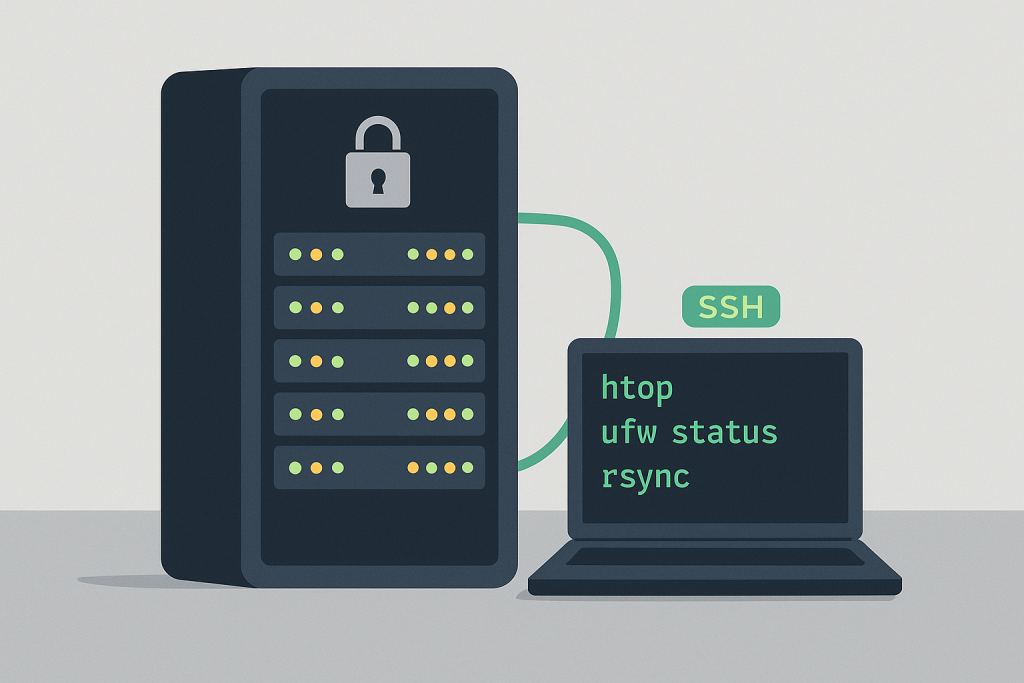
The dedicated server is the undisputed powerhouse of web hosting. It’s your own private digital skyscraper, offering unmatched performance, stability, and security. But when you choose to manage it without a graphical control panel—going bare metal with just the command line—you unlock its full potential. You shed the control panel’s resource overhead and gain absolute control, but you also take on absolute responsibility.
This deep-dive guide is for the advanced administrator, the tech enthusiast, or the professional developer who seeks to maximize performance and security by avoiding the bloat and constraints of a typical web hosting control panel. We’re going beyond the basics of SSH and vim to cover advanced tips for maintenance, security, and optimization in the pure CLI (Command Line Interface) environment.
Why Go Panel-Less? The Pure Power of the CLI
Before we dive into the “how,” let’s quickly confirm the “why.” Why skip the friendly control panel interface that makes daily tasks simple?
- Maximum Performance and Resources: Control panels like cPanel can consume a significant amount of RAM and CPU. By ditching them, you free up these precious resources entirely for your applications, resulting in faster load times and higher traffic capacity.
- Ironclad Security: Control panels are standardized software, making them a common target for exploits. A CLI-managed server is a custom-configured system—it has a smaller attack surface because you only install and expose the services you absolutely need.
- Ultimate Customization: You are not limited by a control panel’s menus. You can install custom versions of PHP, fine-tune your MySQL/MariaDB configuration, and set up advanced Nginx or Apache rules—all with complete freedom.
- Cost Savings: High-end control panels can cost upwards of $40/month. Skipping this cost is a significant saving for a powerful dedicated server.
Going panel-less is the shift from driving an automatic car to taking control of a finely-tuned manual race car.
1. The SSH Foundation: Hardening Your Gateway
Secure Shell (SSH) is your primary tool. It’s the only door you should use for remote server management. Your first, most critical task is to harden this door.
🔑 Advanced SSH Security Measures
- Disable Direct Root Login: Logging in directly as
rootis a massive security risk. Instead, create a standard administrative user and use thesudocommand to elevate privileges when necessary.- Tip: Edit
/etc/ssh/sshd_configand changePermitRootLogin yestoPermitRootLogin no.
- Tip: Edit
- Change the Default Port: Bots and automated scanners constantly hammer the default SSH port (22). Change it to a high, random, non-standard port (e.g., above 1024).
- Tip: In
/etc/ssh/sshd_config, changePort 22toPort XXXX(whereXXXXis your new port). Always open the new port in your firewall before disconnecting.
- Tip: In
- Switch to Key-Based Authentication: Passwords can be guessed or brute-forced. SSH Keys are virtually uncrackable.
- Process: Generate an SSH key pair (
ssh-keygen), copy the public key to your server’s~/.ssh/authorized_keysfile (ssh-copy-id), and then disable password login entirely. - Tip: In
/etc/ssh/sshd_config, setPasswordAuthentication no. This is the single most effective security step you can take.
- Process: Generate an SSH key pair (
🛡️ Implementing Proactive Brute-Force Protection
Even with key authentication, you still need to protect your SSH port from constant probes.
- Install and Configure
fail2ban: This indispensable tool monitors log files (like your SSH logs) for repetitive failed login attempts. When a pattern is detected (e.g., three failed attempts in five minutes), it automatically creates a temporary firewall rule to block the attacker’s IP address.- CLI Check: After installation and configuration, run
fail2ban-client statusto ensure your SSH jail is active.
- CLI Check: After installation and configuration, run
2. The Firewall and Network: The Digital Fortress
Without a GUI, your firewall is managed entirely through the command line. This gives you the precise control to implement a “deny-all-by-default” security policy.
🧱 Managing the Firewall
For most modern Linux distributions (like Ubuntu, Debian, or CentOS), you’ll be working with UFW (Uncomplicated Firewall) or firewalld.
- UFW (Ubuntu/Debian):
- Deny-All Policy:
sudo ufw default deny incoming(This is the golden rule). - Allow Essential Ports:
sudo ufw allow ssh/tcp(Use your new, custom port!) andsudo ufw allow 80/tcp(HTTP),sudo ufw allow 443/tcp(HTTPS). - Enable:
sudo ufw enable(Be extremely careful with this command).
- Deny-All Policy:
- IPtables/NFTables (The Power User’s Choice): For the highest level of control, learning IPtables or its modern successor, NFTables, is essential. It lets you create complex rule sets for packet filtering, Network Address Translation (NAT), and more.
- Advanced Tip: Use a tool like
iptables-persistentto save your custom IPtables rules so they survive a server reboot.
- Advanced Tip: Use a tool like
🌐 Network Troubleshooting with CLI
When a site is down or slow, you need quick-fire commands to diagnose network issues.
- Check Open Ports and Connections:
ss -tuln: Socket Statistics. This is the modern, faster alternative tonetstat. It shows all listening TCP (t) and UDP (u) sockets, numerically (n), without resolving service names (l). This quickly confirms your web server (port 80/443), SSH (your custom port), and database (port 3306) are open and listening.
- Track Network Traffic:
tcpdump: A powerful network packet analyzer. Use it to capture and inspect traffic on a specific interface or port, essential for debugging complex network problems or suspicious activity.iftop: Provides a real-time, text-based view of network bandwidth usage, showing you which connections are consuming the most traffic.
3. Performance Monitoring: The Server’s Vital Signs
The core advantage of CLI administration is the ability to spot and kill resource hogs immediately. Forget the fancy graphs; your monitoring tools are fast, text-based, and run directly in your terminal.
📈 Real-Time System Metrics
- The Ultimate Resource Monitor:
htophtopis a massive upgrade from the oldertopcommand. It displays a real-time, colored, user-friendly list of processes, showing CPU, memory, and swap usage. You can use arrow keys and function buttons to sort processes by resource usage and even kill a runaway process instantly.
- Memory and Disk I/O Diagnostics:
vmstat: Reports information about processes, memory, paging, block I/O, and CPU activity. Runvmstat 1to get a report every second. Crucial for diagnosing memory or disk bottleneck issues.iostat: Shows you statistics for CPU and input/output devices (disks). Essential for finding out if slow disk I/O (often caused by excessive logging or disk-heavy applications) is the root cause of a slowdown.
💾 Disk Space and File Management
Running out of disk space can take down a server instantly. Regular checks are mandatory.
- Checking Disk Usage:
df -h: The simple, classic command. Shows you file system disk space usage in a human-readable format.du -sh *: Run this inside a directory (like/var/logor/home/user) to see a summary of the total size in human-readable format for all files and folders. This is the fastest way to find which directory is filling up your disk.
- Advanced Log Rotation:
- Logs can quickly consume gigabytes of space. Ensure your
logrotateutility is correctly configured for your web server (Apache/Nginx), database, and custom application logs. - Tip: Check the configuration files in
/etc/logrotate.d/and manually test a rotation withsudo logrotate /etc/logrotate.conf --force.
- Logs can quickly consume gigabytes of space. Ensure your
4. Application Stacks: LAMP/LEMP Configuration
You’re responsible for the entire stack. This means setting up and tuning the Web Server, Database, and PHP (or other language runtime) environment.
🌐 Web Server Configuration (Nginx & Apache)
- Virtual Hosts (Nginx/Apache): You must manually create and configure the virtual host files for every website you host.
- Nginx Tip: Configuration files typically reside in
/etc/nginx/sites-available/. Usenginx -tto test your configuration for syntax errors before reloading the service. This prevents downtime caused by typos. - Apache Tip: Configuration files are often in
/etc/httpd/conf.d/or/etc/apache2/sites-available/. Useapache2ctl configtestto test your syntax.
- Nginx Tip: Configuration files typically reside in
- SSL/TLS (HTTPS):
- Use Certbot for free, automated SSL certificates via Let’s Encrypt. It’s a simple CLI tool that automates the process of generating certificates, installing them on your web server, and scheduling the required 90-day renewals.
- Command:
sudo certbot --nginx -d example.com -d www.example.com
🗃️ Database Optimization (MySQL/MariaDB)
Databases are the common performance bottleneck.
- Tuning with
mysqltuner: This Perl script connects to your database, analyzes its performance over time, and provides specific recommendations for improving configuration variables in yourmy.cnffile. It’s an essential, quick-win tool. - Manual Configuration: The most crucial variables to tune in
my.cnfareinnodb_buffer_pool_size(should be about 70-80% of your total RAM if your server is dedicated to the DB) and query cache settings.
⚙️ PHP Management
- FPM (FastCGI Process Manager): If you’re running a modern web server, you should be using PHP-FPM, not the older Apache module. FPM allows your web server to hand off PHP processing to a dedicated service, which is far more stable and efficient.
- Tuning Tip: Adjust FPM’s process manager settings (
pm.max_children,pm.start_servers, etc.) to match your server’s available RAM. Over-configuring this is a common mistake that leads to “Out of Memory” errors. - Check Status:
sudo systemctl status php7.4-fpm.service(or your version number).
- Tuning Tip: Adjust FPM’s process manager settings (
5. Automation and Maintenance: Working Smarter, Not Harder
Manual tasks are error-prone and tedious. The key to successful CLI administration is automation.
🤖 Automation with Cron and Scripts
- Cron Jobs (
crontab): Use the system’s scheduler to run repetitive tasks automatically.- Daily Maintenance Script: Create a shell script to run tasks like package updates, log rotation, cleaning temporary files, and a system health check, then schedule it to run in the quiet hours.
- Example Cron Entry:
0 3 * * * /path/to/my/maintenance_script.sh > /dev/null 2>&1(Runs the script at 3:00 AM daily).
- The Power of Aliases: Save your fingers and prevent typos by creating custom aliases for long commands in your shell configuration file (e.g.,
~/.bashrcor~/.zshrc).- Example:
alias s-reload='sudo systemctl reload nginx php7.4-fpm'
- Example:
🔄 Patch Management and OS Updates
Keeping the system updated is non-negotiable for security.
- Automated Security Updates: On Debian/Ubuntu, install the
unattended-upgradespackage to automatically install critical security patches without manual intervention. You can configure it to only apply security updates and skip major version upgrades. - Manual Updates (Regularly):
- Debian/Ubuntu:
sudo apt update && sudo apt upgrade -y - CentOS/AlmaLinux:
sudo dnf update -y
- Debian/Ubuntu:
💾 The Golden Rule: Backups (3-2-1 Strategy)
A control panel often handles backups for you. In the CLI world, you must set this up yourself.
- Use
rsyncfor File Syncing:rsyncis the gold standard for efficient, remote file backups. It only copies the files that have changed, saving bandwidth and time.- Example:
rsync -avz --delete /home/user/ backupuser@remote-server.com:/backup/path/
- Example:
- Automate Database Dumps: Use
mysqldumpto create a clean, non-corrupted copy of your database, then pipe it to Gzip and securely transfer it off-site usingrsyncorscp.- Example:
mysqldump -u root -p database_name | gzip > /home/backups/db-$(date +%Y%m%d).sql.gz
- Example:
- Follow the 3-2-1 Rule: 3 copies of your data (the original and two backups), on 2 different types of media, with 1 copy stored off-site (like Amazon S3 or a dedicated backup server).
6. Advanced Troubleshooting: Deep into the Logs
The logs are the heartbeat and the diary of your server. Without a GUI to summarize them, you need to know how to read them efficiently.
🔎 Essential Log Viewing Tools
journalctl(Systemd-based Systems): This is the central logging utility for modern Linux. It’s a lifesaver for diagnosing boot issues, service failures, and general system errors.- View by Service:
sudo journalctl -u nginx.service -f(Shows log entries only for the Nginx service and follows the log in real-time). - View Boot Log:
sudo journalctl -b -0(Shows the log from the current boot).
- View by Service:
grep,tail, andawk: These three classic commands are indispensable for log analysis:tail -f /var/log/apache2/error.log: Follows the log file in real-time, perfect for watching errors as you test a new configuration.grep "failed password"/var/log/auth.log`: Grep (Global Regular Expression Print) searches for specific text strings, ideal for finding security breaches or specific errors.
The CLI Mindset: Responsibility and Reward
Managing a dedicated server without a control panel is not for the faint of heart, but the rewards—in terms of performance, security, and professional skill development—are immense. You move beyond being a user and become a genuine System Architect.
Embrace the command line. Take the time to master your essential tools. Automate the mundane, and you will find yourself with a blazing-fast, rock-solid server infrastructure that only does exactly what you tell it to do, nothing more, nothing less. Your server will run cleaner, faster, and more securely than any off-the-shelf, control-panel-bloated machine.