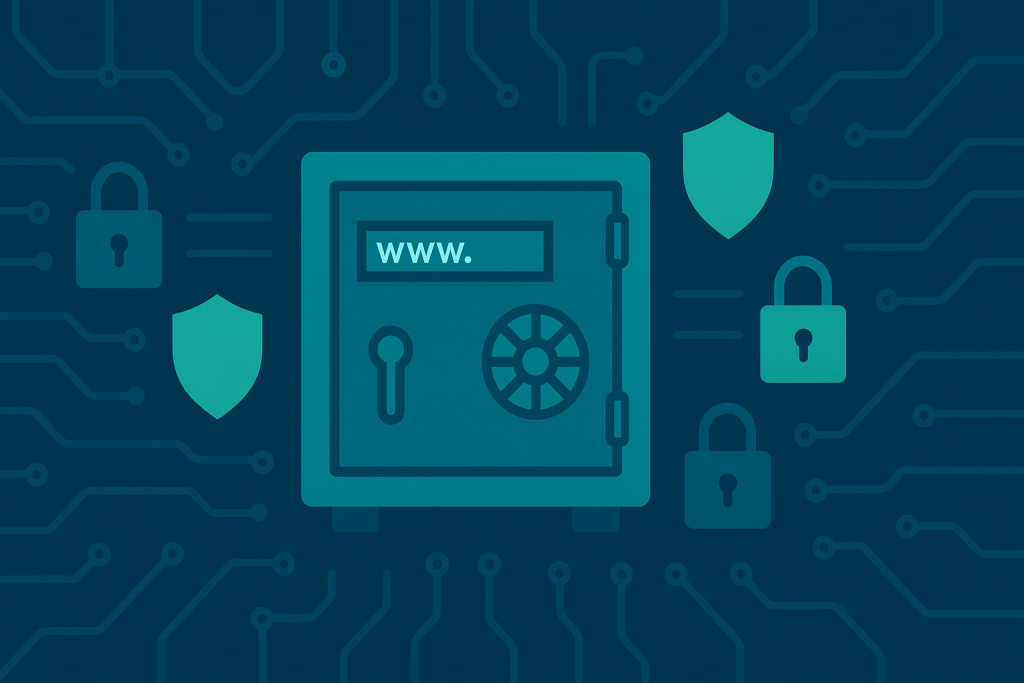
The Good, The Bad, and The “Shared”
When you decide to launch a website, the first choice you make is almost always Shared Hosting. It’s easy, it’s affordable, and it’s fast. For small businesses, hobby sites, and first-time bloggers, it’s the perfect starting point.
But what exactly is shared hosting?
Think of it like living in a large, affordable apartment complex. You get your own unit (your website), a key, and access to all the common amenities (server resources like CPU, RAM, and disk space). It’s great because the cost is split among many tenants.
However, just like in an apartment building, the actions of your neighbors can sometimes affect you. This shared environment is the source of both the great price and the unique security concerns.
In dedicated hosting, you own the whole house. In shared hosting, you are on a very busy floor. A reliable host acts as a great landlord, constantly locking doors, updating fire alarms, and fixing leaks. But even the best landlord can’t stop every problem caused by a careless tenant—or a clever criminal trying to break in.
This deep-dive guide will pull back the curtain on the most common and critical security risks in a shared hosting environment. More importantly, we’ll give you a clear, step-by-step action plan to layer your own defenses and keep your website safe, sound, and successful.
Ready to lock down your site? Let’s dive in.
Part 1: The Four Core Security Risks of Shared Hosting
The vulnerabilities in shared hosting can be grouped into four main categories. The first two are often managed by your host (the “landlord”), but the last two fall squarely on your shoulders (the “tenant”).
1. The “Bad Neighbor” Effect (Cross-Site Contamination)
This is the most talked-about risk of shared hosting. Because dozens, sometimes hundreds, of websites live on the same physical server and often share parts of the server’s file system, a security breach on one site can sometimes be used to attack others.
Imagine one of your server neighbors is running an old, forgotten blog with an outdated plugin. A hacker easily breaks into that site. If the host hasn’t configured strict account isolation (a digital wall between each website), the hacker might use their compromised neighbor’s access to “jump” across the wall and start looking for weaknesses in your site’s files.
- The Risk: If one website on the server is compromised (usually through an outdated CMS, theme, or plugin), the hacker could attempt to move laterally and compromise other sites on the same server, including yours.
- The Consequence: Your site is infected with malware, redirects visitors to spam sites, or gets used to launch attacks on others, all because of a neighbor’s mistake.
2. Collateral Damage from Shared Resources
Security isn’t just about preventing hackers from breaking in; it’s also about keeping your site online and functioning. In a shared environment, server resources—like CPU power, RAM (memory), and the network’s public IP address—are a finite pool.
A. IP Address Blacklisting
Every website on a shared server uses the same public IP address to connect to the internet.
- The Risk: If just one “bad neighbor” on your server starts sending mass spam emails, phishing links, or engaging in other illegal activities, that single, shared IP address can get blacklisted by email providers (like Gmail) and anti-spam organizations.
- The Consequence: Your legitimate marketing emails start going straight to spam folders, and in severe cases, search engines might flag the entire IP as suspicious, potentially impacting your site’s visibility.
B. DDoS Attack Fallout
A Distributed Denial of Service (DDoS) attack aims to overwhelm a server with a flood of fake traffic, making it crash or become unresponsive.
- The Risk: If a hacker targets any site on your shared server, the massive resource consumption needed to fight the attack (or the failure of the entire server) impacts every other site hosted there.
- The Consequence: Your website, which wasn’t even the target, suddenly slows to a crawl or goes completely offline, leading to lost sales and frustrated visitors.
3. Weak Foundation: Outdated Software and Credentials
Even the best hosting environment can be undone by poor user habits. This is where most attacks start—not with sophisticated server hacks, but with simple, preventable errors on your end.
- The Risk: Using a Content Management System (CMS) like WordPress, Joomla, or Drupal? Every component—the CMS core, themes, and plugins—is a door into your site. If they aren’t kept up-to-date, hackers can use known, publicly documented vulnerabilities (security holes) to sneak in. Similarly, weak passwords are the easiest entry point for automated brute-force attacks.
- The Consequence: A hacker gains access to your admin dashboard, uploads malicious files, steals customer data, or completely locks you out of your own site. This is the #1 cause of website hacks.
4. Limited Control (The Tenant’s Restriction)
Because you are sharing the server, the host has to limit what each “tenant” can do to maintain stability and security for everyone else. This limits your ability to add certain deep security features.
- The Risk: Unlike a Virtual Private Server (VPS) or Dedicated Server, you do not have root access. You cannot install server-level firewalls, custom kernel protections, or choose specific, advanced security modules. If your application needs a critical security patch, you have to wait for your hosting provider to apply it to the entire server.
- The Consequence: You are mostly reliant on your host’s server-wide security measures, which are generic, and whatever security layers you can install inside your website folder (like security plugins or Cloudflare).
Part 2: The Ultimate Action Plan to Stay Protected
Since you can’t control your neighbors or the server’s root environment, your protection plan needs to focus on what you can control: your website’s software, your access points, and your recovery strategy.
This is the multi-layered defense every website owner on shared hosting must implement.
Layer 1: Fortify Your Website Software (The First Line of Defense)
This is the most critical and easily overlooked part of your defense.
✅ 1. Master Your Updates (The 90% Solution)
Rule of Thumb: Your CMS (e.g., WordPress), themes, and plugins must be updated the moment an update is released. Every major update includes security patches that fix known vulnerabilities.
- Actionable Step: Turn on automatic updates for minor releases. For major core updates, check the changelog, then apply them immediately. Delete any themes or plugins you are not actively using, as old, dormant files are a favorite hiding place for hackers.
✅ 2. Harden Your Passwords and Access
Your admin login is the main door to your site. You need a fortress, not a flimsy lock.
- Actionable Step A: Strong Passwords: Use a password manager (like 1Password or LastPass) to generate and store long, complex, and unique passwords for everything: your Hosting/cPanel account, your WordPress/CMS admin, and any database or FTP accounts. Never reuse passwords.
- Actionable Step B: Enable Two-Factor Authentication (2FA): This is non-negotiable. 2FA (or MFA) requires a code from your phone (via an app like Google Authenticator) in addition to your password. If a hacker steals your password, they still can’t log in without your phone. Enable it for your host’s cPanel/dashboard and your website’s admin panel.
- Actionable Step C: Limit Login Attempts: Use a security plugin (like Wordfence or Sucuri) to automatically block an IP address after a few failed login attempts. This stops brute-force attacks in their tracks.
✅ 3. Secure File Permissions
File permissions tell the server who can read, write, or execute your website files. The wrong setting can let a hacker change or upload malicious code.
- Actionable Step: In your cPanel or via FTP, verify the correct permissions:
- Files should be set to
644. - Folders (Directories) should be set to
755. - NEVER use
777for any file or folder unless explicitly instructed by your host (and even then, only briefly).
- Files should be set to
Layer 2: Implement Proactive Monitoring (The Guard Dog)
Security isn’t something you set and forget; it’s an ongoing process of checking for trouble.
✅ 4. Install a Web Application Firewall (WAF)
A WAF is a powerful shield that sits between the internet and your website. It inspects all incoming traffic and blocks common attack patterns (like SQL injection and Cross-Site Scripting) before they even reach your CMS.
- Actionable Step: Use an external WAF/CDN service like Cloudflare (even the free tier offers great DDoS protection and filtering) or a premium security plugin with an endpoint WAF (like Wordfence Premium or Sucuri). This moves the defensive line away from your shared server, insulating you from attack volume.
✅ 5. Run Regular Malware Scans
Hackers are very good at hiding malicious files in places you’d never look. Automated scanners are not.
- Actionable Step: Use a reputable security plugin or a host-provided tool (many good shared hosts now include services like Imunify360) to run daily, automated malware scans. Configure the tool to alert you immediately if it finds anything suspicious. The faster you detect an infection, the less damage is done.
✅ 6. Switch from FTP to SFTP (or SSH)
The standard File Transfer Protocol (FTP) sends your login details and data unencrypted across the internet. A hacker listening on the network could easily capture your username and password.
- Actionable Step: Always use Secure File Transfer Protocol (SFTP) or Secure Shell (SSH) access, which encrypts all data transmissions. Your FTP client (like FileZilla) should support this, and all reputable hosts provide SFTP details in your account dashboard.
Layer 3: The Ultimate Disaster Recovery (The Safety Net)
If everything else fails, this is what saves your business and reputation.
✅ 7. Automate Off-Site Backups (The Lifeboat)
Backups are not an optional extra; they are the single most important part of your recovery plan. If your site is successfully hacked, the fastest way to get back online is to restore a clean backup.
- Actionable Step A: Dual Backups: Relying only on your host’s backups is risky. You need a backup you fully control. Use a plugin (like UpdraftPlus or BackupBuddy) to schedule daily, automated backups of your files and database.
- Actionable Step B: Off-Site Storage: Store these backup files on a completely separate, secure cloud service (like Google Drive, Dropbox, or Amazon S3). This is crucial! If the hacker wipes the entire server, your backups stored on the same server are useless.
✅ 8. Install and Force SSL (Encryption)
An SSL (Secure Sockets Layer) certificate encrypts the data moving between your website and your visitor’s browser. This protects sensitive information (like login details, contact forms, or credit card info) from being intercepted.
- Actionable Step: Today, virtually all reputable shared hosts offer Free SSL/TLS Certificates (usually via Let’s Encrypt). Make sure yours is installed, active, and that your website is configured to force all traffic to HTTPS. Without it, not only is your data at risk, but your site will be flagged as “Not Secure” by web browsers, killing visitor trust and hurting your SEO.
Part 3: Choosing the Right Host—Security Starts Here
While you can’t control your shared host’s environment entirely, you can choose a host that practices excellent “landlord” behavior. Before you sign up, look for a provider that explicitly commits to these three things:
| Feature to Look For | Why It Matters for Shared Hosting |
| Account Isolation Technology | This is the digital wall! Look for hosts that use technologies like CloudLinux or CageFS, which securely separate each account from its neighbors, preventing cross-site infection. |
| Proactive Server Hardening | They should manage the “landlord” defenses. Look for automatic server updates, a Web Application Firewall (WAF) applied at the server level, and a service that runs regular server-side malware scans (like Imunify360). |
| DDoS Mitigation & IP Reputation | They should have a system in place to filter out massive floods of malicious traffic before it reaches your server. A commitment to monitoring the shared IP’s reputation is also a sign of a good provider. |
Final Word: Security is a Partnership
Shared hosting is a fantastic, affordable option, and the security risks are not reasons to avoid it—they are simply factors to manage.
Think of it as a partnership:
- Your Host’s Job: Provide a secure, monitored server with strong account isolation and network-level firewalls.
- Your Job: Maintain a clean, up-to-date website, use fortress-level credentials, and keep your life-saving backups off-site.
By taking responsibility for your side of the partnership and implementing the layered approach above, you can confidently run a secure, fast, and successful website without the cost of a private server. Lock down your site today, and enjoy the peace of mind that comes with being a protected, professional website owner.

